Introduction
Getting Started
Enough with the waffles - this is about Getting Things Done and Professional Services Automation as much as anything else.
Perhaps you will take it slow and start off by running your own remember-the-milk list or maybe you will throw everything you have at it in the first go. In any case this section is about getting you started safely.
Signing in/up
Go to https://app.mortimer.pro and find the 'login' in the upper right corner. Notice there is no 'sign up'!
You will provide us with an email address to sign in. Read about privacy if that is a concern of yours. That section even explains the missing sign-up.
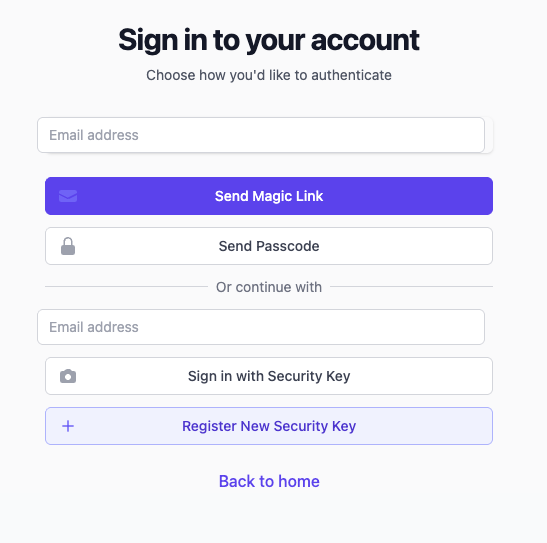
There is a detailed User Guide for signing in if you don't nail it in your first go or not sure how to complete!
Your first Tenant
Once properly signed in there is one job left (for now) - creating your first tenant.
Tenant is the term used to describe a domain. All data belonging to an entity is enclosed within a tenant. You may setup as many tenants as you deem necesssasry. Order them by function, geography, or any other qualifier. Be advised that data cannot 'spill' over between tenants ie your contacts in one tenant cannot be looked up in another.
Please notice!
If you plan on using Mortimer on a 'cloud' plan notice that data plans and usage is metered per tenant. You might set up 3 tenants for 'R&D', 'Sales', and 'Finance' and each of them utilizes only 25-30% of their data plan.
Start with one tenant and only add another if there is a sound use case.
Mortimer persists a tenant that holds important settings, and associations to most any data you persist using Mortimer. This data can be scheduled for backups as often as you find it pertinent. Be mindful of scheduling backups as they too will eat away at your data plan.
If you managed to label your first tenant, you're good to go start using Mortimer (if you're OK with the defaults)!
How to get to that tenant?
When you have labeled your tenant (and saved it) you will be taken to the tenant details view because you are the owner of that tenant. Notice how the browser address line will show you the path to that tenant. A URL could look like https://app.mortimer.pro/company-a with the company-a part of the URL being what is known as a slug. The slug is a unique identifier to each tenant. You may add your preferred slug and if it is not already 'taken/reserved' it will be persisted with the tenant, otherwise Mortimer will suggest an alternative.
There is an alternative albeit it comes at a price. It is called the custom domain name.
A Custom Domain Name
If Mortimer will be a central piece of how you manage your business it may be valuable to you and your organization to have a custom domain name. It could be jolly.cola.dk or mice.men.org -- there really are no limits except those imposed by the Domain Naming System itself.
Once you have labeled your tenant you can go back and edit it and provide a custom domain. You will get a short description of the tasks necessary for you to complete in order for the custom domain name to enter into effect, but once the custom domain name is verified, you will 'get' Mortimer by typing your selected custom domain name in the browser address line.
FQDN - Fully Qualified Domain Name
You will need to enter a FQDN in order for Mortimer to understand what you want! Meaning that typing in jokers.at.work will only work if you're able to add a CNAME (or A) record for jokers.at.work. If there is another "host" using that address you will need to come up with another name.
Your DNS service provider has to be CloudFlare for this trick to work. We do not support other DNS service providers at the moment; and we don't even make a buck off of it, sadly!